Removing drywall may seem like a simple task, but if not done correctly, it can lead to unnecessary damage or hazards in your home. Whether you’re preparing for a renovation, need to access damaged drywall, or are dealing with mold behind your walls, knowing how to safely remove drywall is essential. This guide will walk you through the process step-by-step, from preparation to cleanup, ensuring you do the job right.

Why Would You Need to Remove Drywall?
There are several reasons why you might need to remove drywall in your home:
- Renovation: You may be updating a room or making structural changes that require access to studs, wiring, or plumbing.
- Water Damage: Water damage from leaks or flooding can cause drywall to warp or develop mold, necessitating its removal.
- Mold Removal: Mold growth behind walls is a serious issue that often requires cutting out the affected drywall to fully remediate the problem.
- Access to Wiring/Plumbing: Sometimes drywall needs to be removed to access electrical wiring or plumbing for repairs or installations.
Tools and Materials You’ll Need

Before starting the drywall removal process, gather the necessary tools and materials. Here’s a list of what you’ll need:
- Utility knife
- Pry bar
- Hammer
- Screwdriver or drill
- Drywall saw (optional)
- Work gloves
- Safety goggles
- Dust mask or respirator
- Plastic sheeting (for dust control)
- Trash bags or bins
Important Safety Tips
- Always wear protective gear, including goggles, gloves, and a dust mask to prevent injury and exposure to dust or mold spores.
- Shut off electricity and water in the area to avoid accidents when working near wires or pipes.
- If you suspect mold behind the drywall, consider hiring a professional for mold remediation.
Step-by-Step Guide: How to Remove Drywall

Follow these steps to safely and efficiently remove drywall from your home.
Step 1: Prepare the Area
Before starting, clear the area of furniture or belongings to avoid damage. Cover the floor and any remaining furniture with plastic sheeting or drop cloths to contain dust and debris. Use painter’s tape to seal off nearby rooms or vents to keep the dust from spreading.
Step 2: Cut Power and Water
Locate the circuit breaker that controls the room where you’re working and turn off the power. If you’re working near water pipes, shut off the main water supply to avoid accidents. This is especially important if you’re removing drywall near plumbing or electrical wiring.
Step 3: Cut Along the Seams
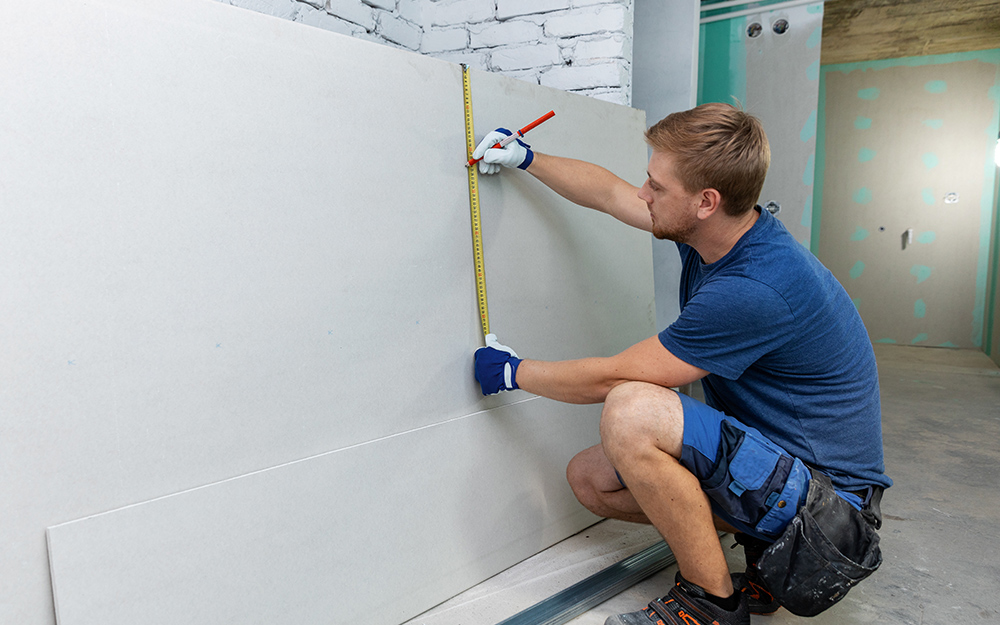
Use a utility knife to score the seams where the drywall meets the ceiling, floor, and adjoining walls. This will make it easier to remove large sections without breaking or damaging adjacent surfaces. Cutting along the seams helps prevent unnecessary mess and allows for clean removal.
Step 4: Remove Trim and Baseboards
Using a pry bar, carefully remove any trim or baseboards around the edges of the drywall. These can usually be pried off without damaging them, allowing you to reuse them later if desired. Be gentle to avoid breaking the trim.
Step 5: Locate Screws or Nails
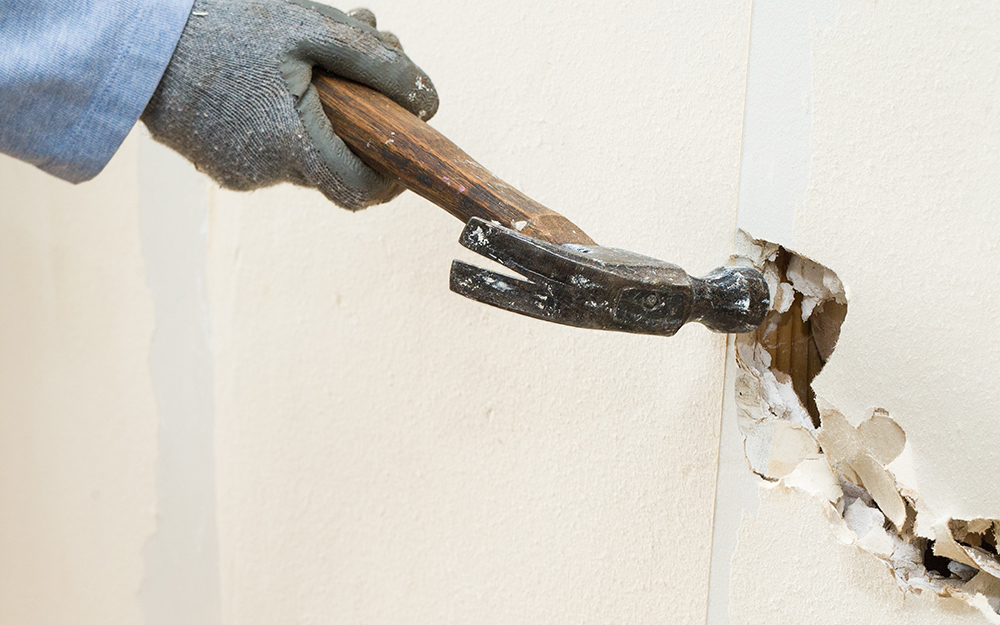
Drywall is usually attached to wall studs with screws or nails. Use a screwdriver or drill to remove screws, or if nails were used, gently pry them out with a hammer. You’ll often find screws or nails along the seams of the drywall and sometimes in the middle of each sheet, attached to the studs.
Step 6: Pull Away Large Sections
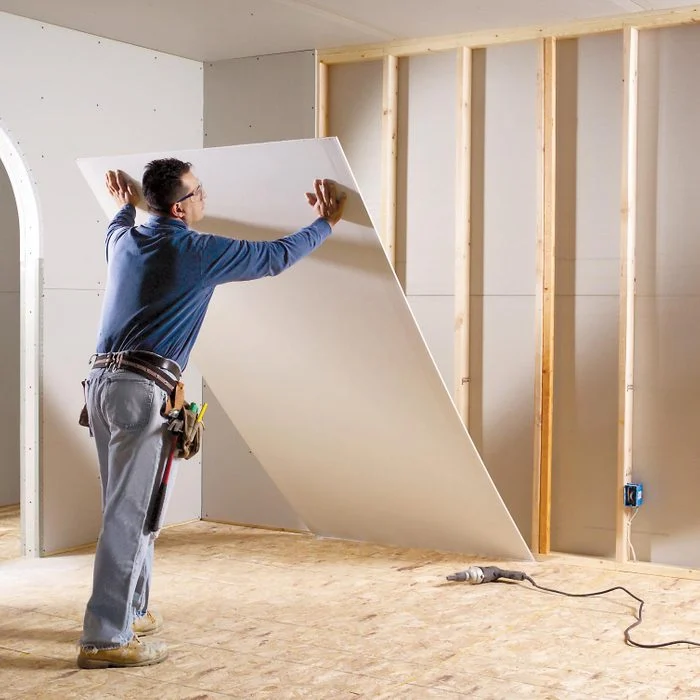
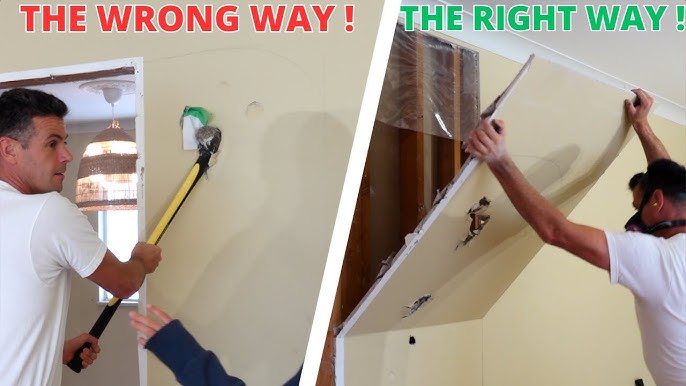
Once the screws or nails are removed, carefully pull the drywall away from the studs. If the drywall doesn’t come away easily, use a pry bar to loosen it. Try to remove large sections at a time to reduce the amount of dust and debris generated. Breaking drywall into smaller pieces can create more dust and make cleanup harder.
Step 7: Remove Remaining Screws or Nails
Once the drywall is removed, check the studs for any remaining screws or nails. Remove them with a drill or hammer to avoid damage when replacing the drywall.
Step 8: Clean Up Debris
After removing the drywall, clean up the debris and dispose of it properly. Use trash bags or a bin to collect the drywall pieces. If you’re dealing with a large area, you might need to rent a dumpster. Sweep or vacuum the area to remove dust and small debris.
What to Do If You Discover Mold or Water Damage

If you find mold behind the drywall, it’s crucial to address the issue immediately. Mold can spread quickly and pose health risks to you and your family. Here’s what to do:
- Wear protective gear, including a respirator, to avoid exposure to mold spores.
- Remove any additional moldy materials, including insulation or other porous materials that may be contaminated.
- Contact a professional mold remediation company like Citywide Mold Mitigation at 844-552-0467 for safe and thorough mold removal.
For water damage, ensure the source of the water is fixed before replacing the drywall. Dry out the affected area completely using fans or a dehumidifier to prevent mold from developing later on.
How to Prevent Future Drywall Damage
To avoid having to remove drywall again, take these preventative measures:
- Fix any water leaks immediately to prevent water damage and mold growth.
- Maintain good ventilation in areas prone to humidity, like bathrooms and basements, to prevent moisture buildup.
- Inspect walls regularly for signs of damage, cracks, or mold growth.
Conclusion: Safe and Efficient Drywall Removal

Removing drywall is a manageable task with the right tools and techniques, but it’s important to follow safety protocols and prepare the area properly. Whether you’re renovating, addressing water damage, or removing mold, this step-by-step guide on how to remove drywall will help you get the job done efficiently and safely.
If you encounter mold, water damage, or need professional assistance, don’t hesitate to contact Citywide Mold Mitigation at 844-552-0467 for expert mold removal and restoration services.
FAQ
| Question | Answer |
|---|---|
| How do I safely remove drywall with mold behind it? | Wear protective gear, including a respirator, and carefully remove the affected drywall. Clean and disinfect the area, and call a professional if the mold infestation is extensive. |
| Can I reuse the drywall once it’s removed? | It’s generally not recommended to reuse drywall, especially if it’s damaged, waterlogged, or moldy. It’s best to replace it with new drywall. |
| What tools do I need to remove drywall? | You’ll need a utility knife, pry bar, hammer, screwdriver or drill, safety gear, and plastic sheeting to protect nearby surfaces. |
| How do I prevent mold from growing behind my drywall? | Fix any water leaks promptly, maintain proper ventilation, and keep humidity levels low to prevent moisture buildup behind walls . Regularly inspect areas prone to moisture, such as bathrooms, basements, and kitchens, for any signs of water damage or mold growth. |
| Is removing drywall a DIY project, or should I hire a professional? | Removing drywall can be a DIY project if you’re comfortable with the tools and precautions. However, if you encounter mold, extensive water damage, or structural issues, it’s best to hire a professional, especially for safe mold remediation. |
For any concerns about mold or water damage behind your drywall, contact Citywide Mold Mitigation at 844-552-0467 to ensure your home remains safe and damage-free.

